How to remove an adapter board from NESRGB

If you were not paying attention during the installation you may have ended up with the adapter board mounted back to front, upside down, or even wrong adapter board for your NES/Famicom model. This removal method with destroy the adapter board and preserve the NESRGB. I recommend this method instead of the traditional desoldering method as the adapter board is difficult to remove with ordinary soldering tools.

You will need a hacksaw with a fine blade and a vice.

Note that in the pictures there is a PPU soldered onto the NESRGB board. Normally there would be a socket here. In fact, the reason I'm removing the adapter board to reclaim this PPU.

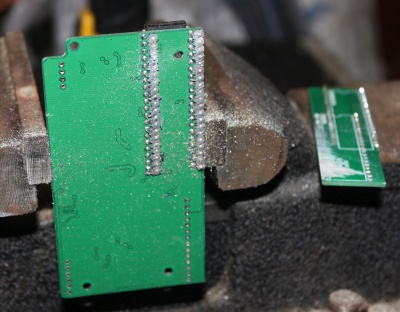
Place the NESRGB board in the jaws of a vice.

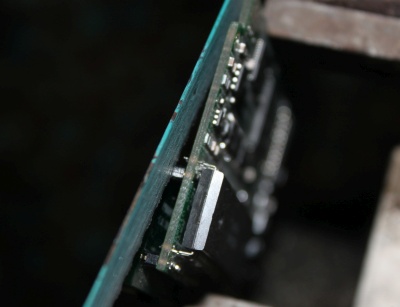
Align the hacksaw blade against the adapter board and cut.

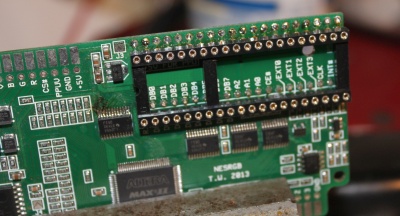
The adapter board has been removed without damage to the NESRGB board.

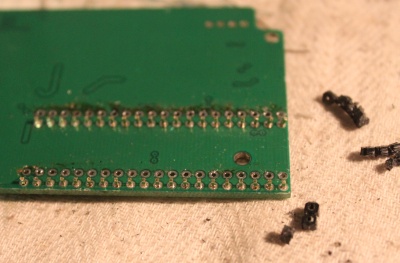
Remove the plastic surround from the pin stubs.

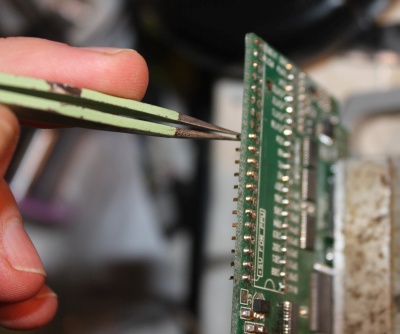
Use tweezers and a soldering iron to remove each pin, one at a time.

When removing the second row of pins you will need to break away the plastic supports on the socket for soldering iron access.

Now that the adapter board has been removed you can order another one and try again. If you need some more round pins (not normally included with the adapter board) then please email to ask before ordering.

Changelog
18/6/2014 - Page Created.